No products
BLOG NEWS
 USING A 16x2 LCD DISPLAY WITH THE IoT PROTO SHIELD PLUS
  What does Paolo Aliverti say about the IoT Proto Shield Plus?
  USING AN SSD1306 128x32 OLED DISPLAY (I2C type) WITH THE IoT PROTO SHIELD PLUS
  USING AN SSD1306 128x64 OLED DISPLAY (I2C type) WITH THE IoT PROTO SHIELD PLUS
  I2C Bus on the IoT Proto Shield Plus
 Search on blog
Follow us on facebook
Top sellers
-

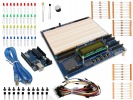
Proto Shield Plus STARTER KIT
This kit is the ideal solution for those who want to start to prototype...
69,90 € -

Proto Shield Plus LCD KIT
Prototype with ARDUINO / GENUINO boards without having a lot of wires...
56,00 € -

SMD to breadboard adapter (10 pcs pack)
Easily adapt SMD devices to 2.54mm prototyping breadboards.
3,90 € -

Proto Shield Plus BASE KIT
Prototype with ARDUINO / GENUINO boards without having a lot of wires...
52,00 €
INSTALLING VISUAL MICRO for ATMEL STUDIO
Published : 09/10/2018 16:18:11
Categories : Proto Shield Plus

INSTALLING VISUAL MICRO for ATMEL STUDIO
Why use Visual Micro instead of the “standard” Arduino IDE?
The standard Arduino IDE (https://www.arduino.cc/en/Main/Software) (Integrated Development Environment) is quite good: it comes for free, it is developed by the “Arduino” company and, of course, it is the first IDE software you will ever download to start writing code and uploading it to your Arduino board!
Anyway, it is well known that after some time, you will feel the need of some additional features in terms of IDE usability…
Visual Micro is an extension for Atmel Studio that allows any Arduino project to be developed, compiled, and then uploaded to any Arduino board. It is fully compatible with the Arduino development environment and uses the same libraries.
The difference lies in Visual Micro's user interface which provides an advanced and professional development environment.
One of the main advantages is the ability to set up and manage breakpoints and / or monitor variable values to easily debug your code!

Installing Visual Micro for Atmel Studio
Let’s start…
Installing the standard Arduino IDE
Even if we are not going to use it I suggest to install the latest standard Arduino IDE available from www.arduino.cc/en/Main/Software.
The main reason is to be sure to have at least one properly working IDE on our PC.
Just click on the setup icon and start the install process

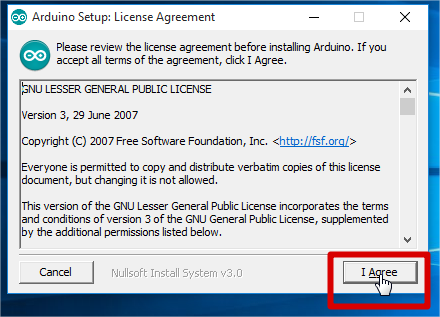
Review and accept license agreement…
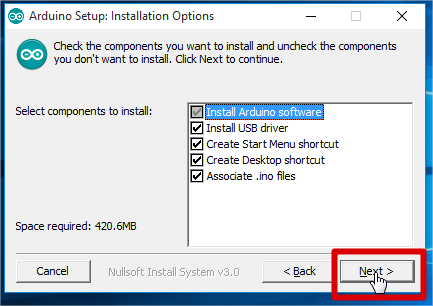
Just accept the default settings…
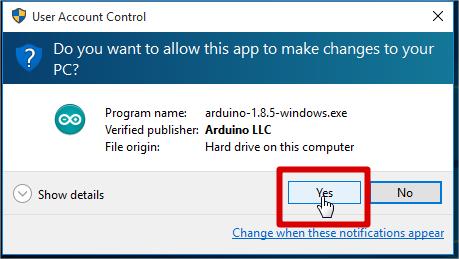
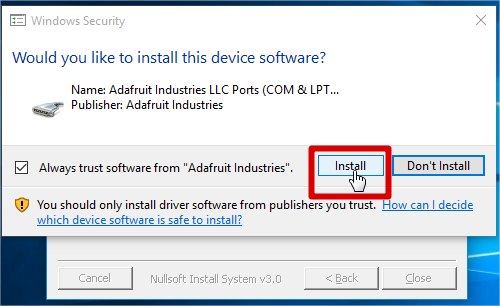
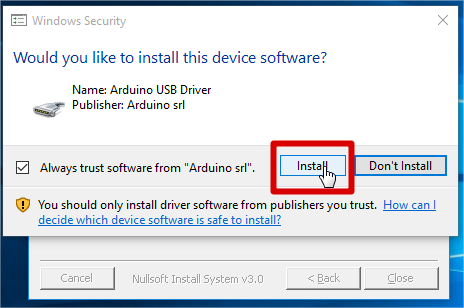
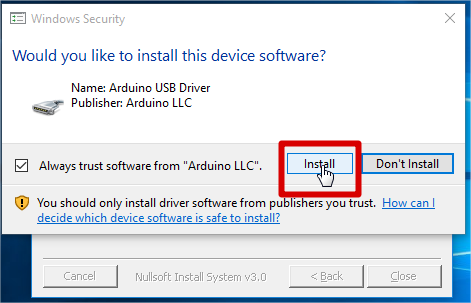
Allow various Software from Arduino and other publishers
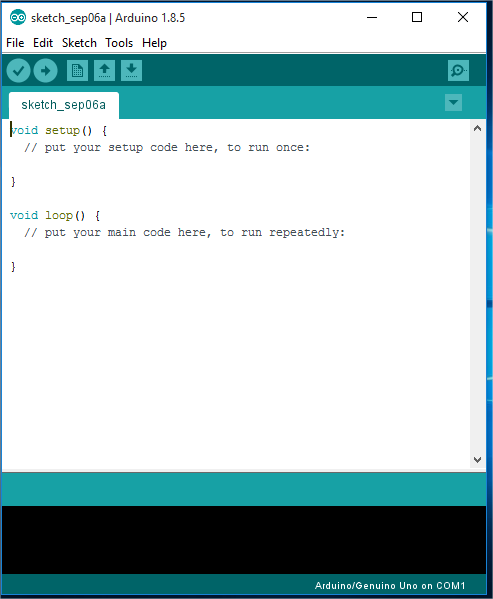
Once installation is complete, you can run the Arduino IDE from its desktop icon.

Installing Atmel Studio
Let’s proceed downloading Atmel Studio from http://www.microchip.com/mplab/avr-support/atmel-studio-7
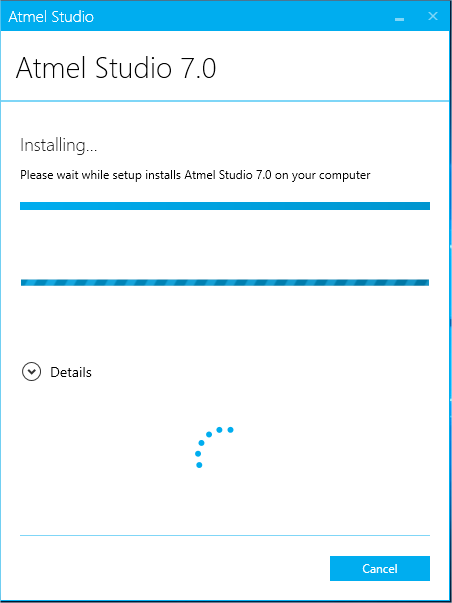
Once downloaded, start the installation...the whole process will take a quite a long time to finish…
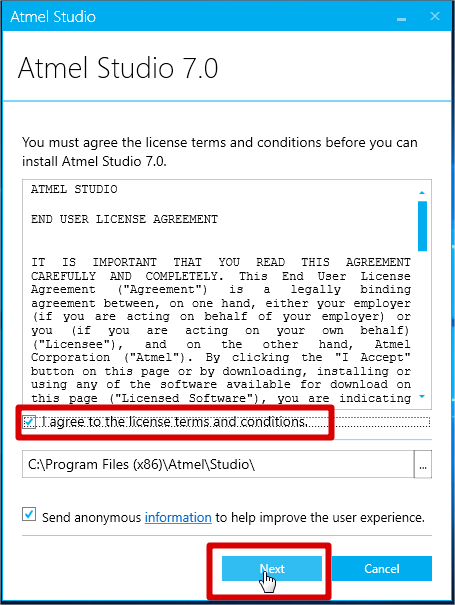
Just agree to license terms and conditions…(of course!)
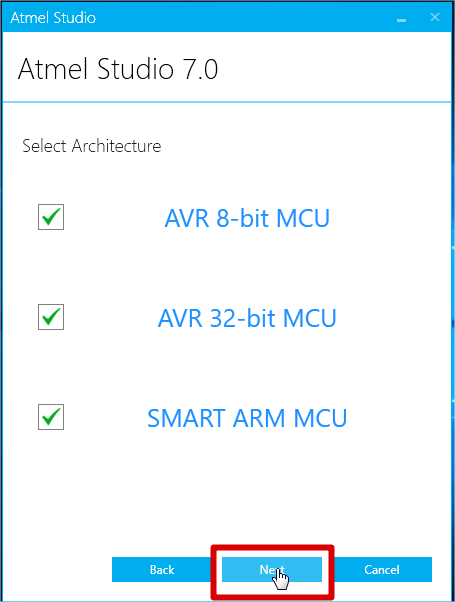
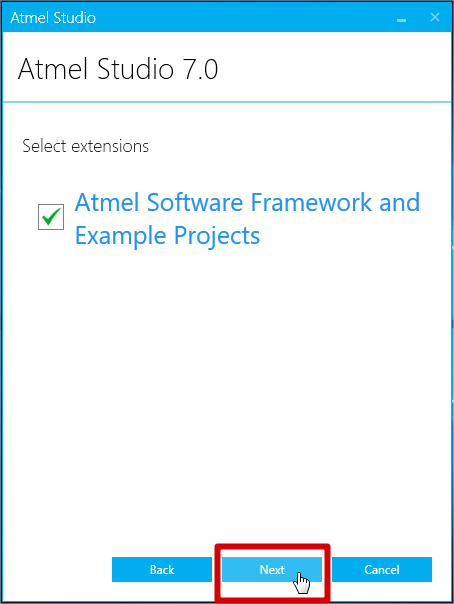
Let default settings to be applied
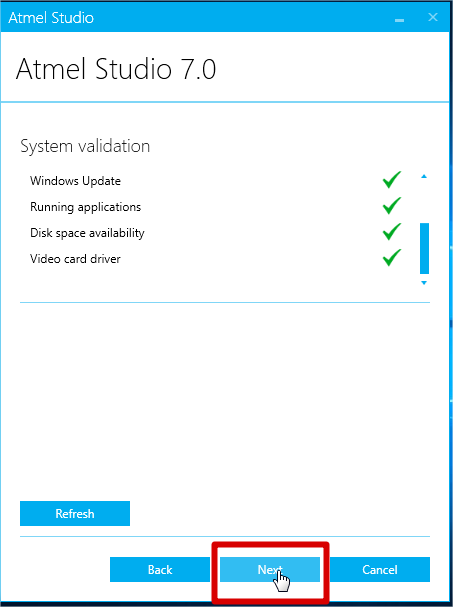
The installer will perform a system validation in order to check that the minimum requirements for Atmel Studio are met.
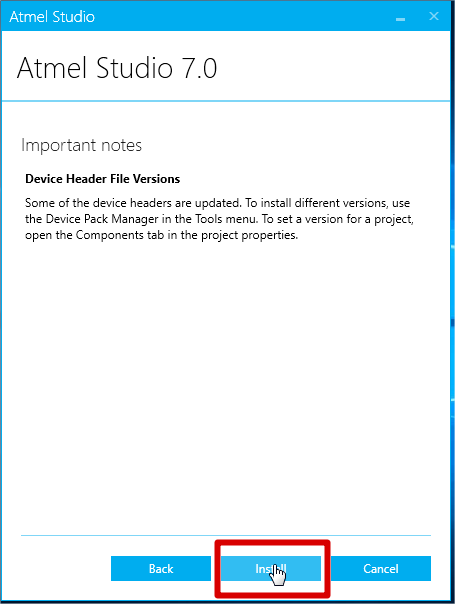
Start the installation…
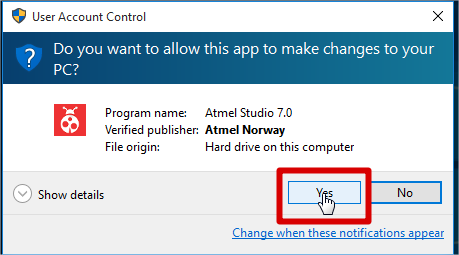
Allow various Software from various publishers and then you’re done!
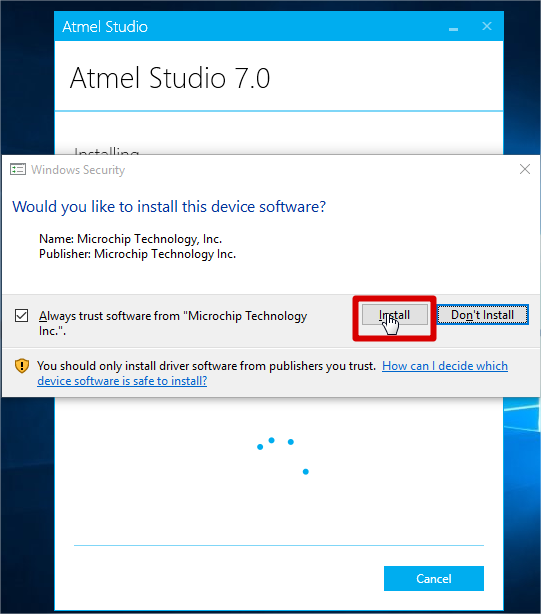
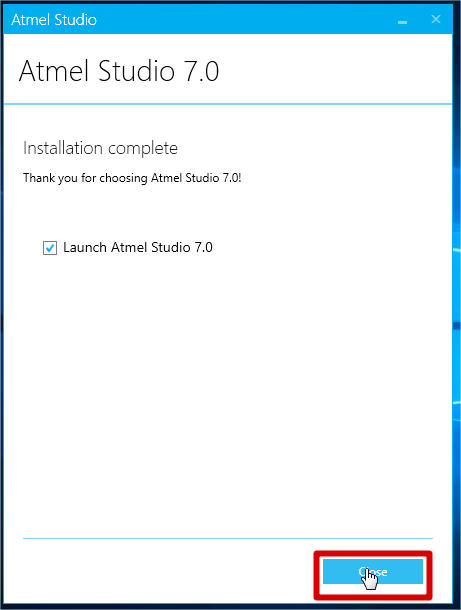
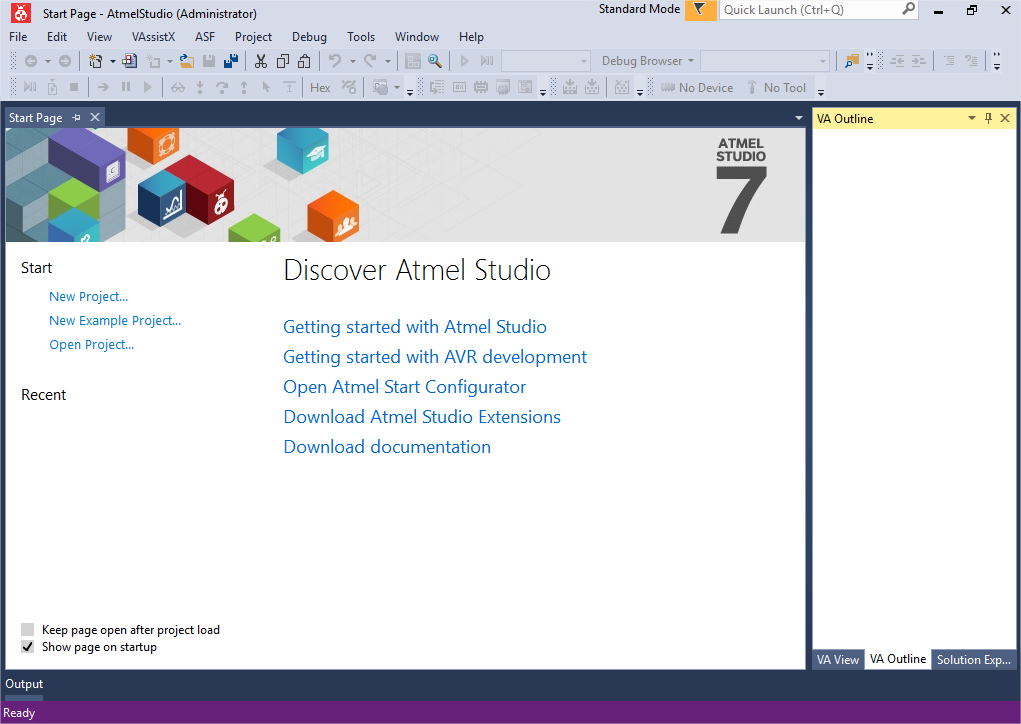
Atmel Studio will start...

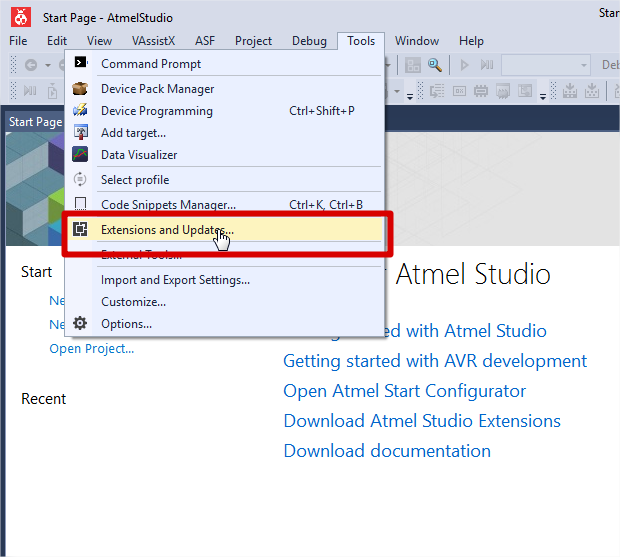
Installing Visual Micro plug-in for Atmel Studio
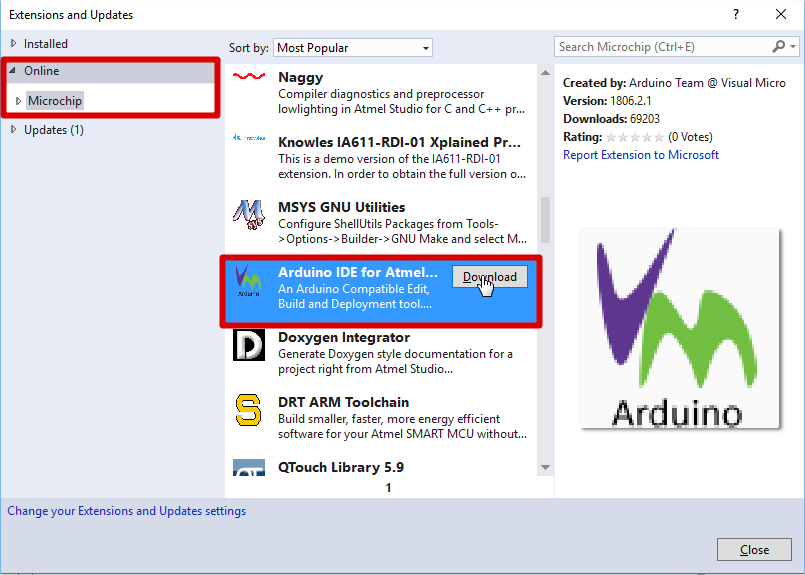
Click on Tools -> Extension and updates
Select the Online tab on the left, then scroll until you find Arduino IDE for Atmel Studio…then click on the Download button
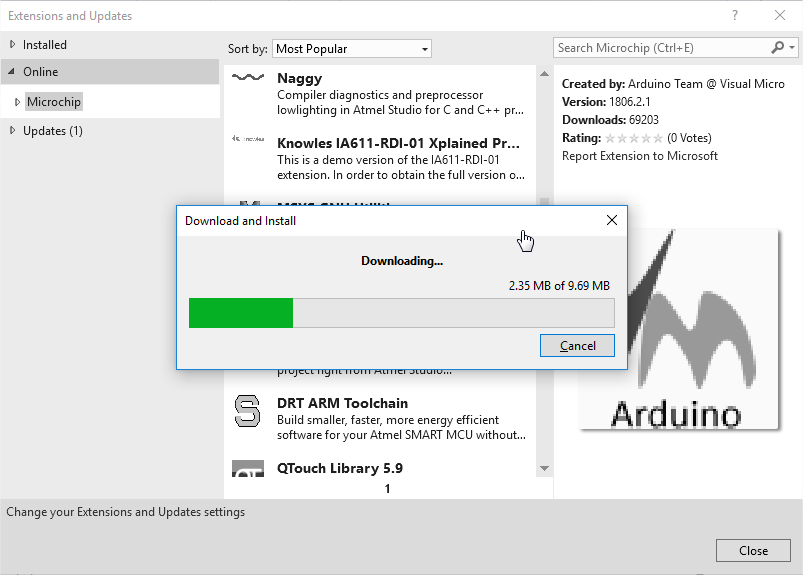
The download process will start…
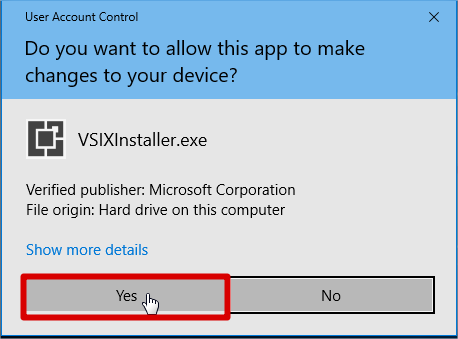
You have to allow the installer to make changes to your device and then accept license agreement…
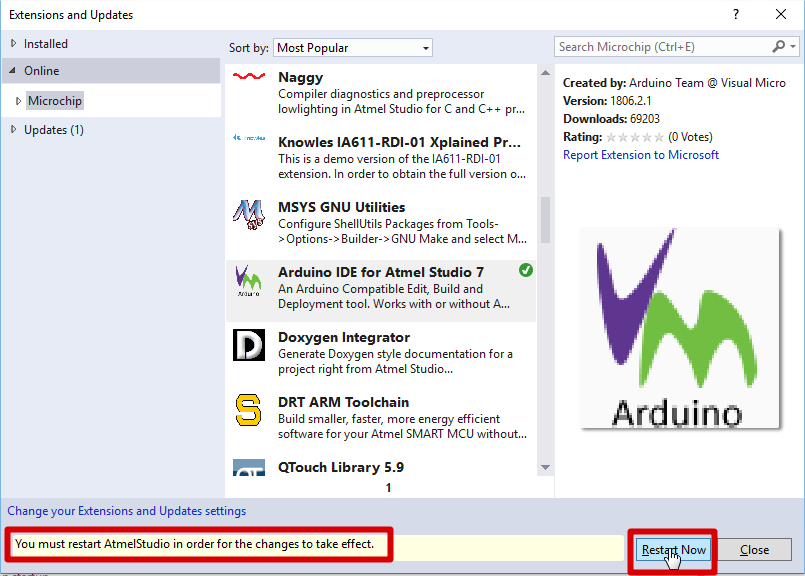
At the end the installation is complete!
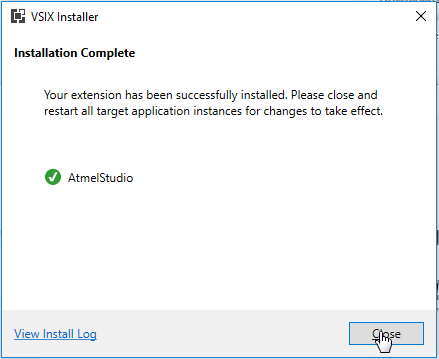
Just click on Restart Now button in order for the changes to take effect.
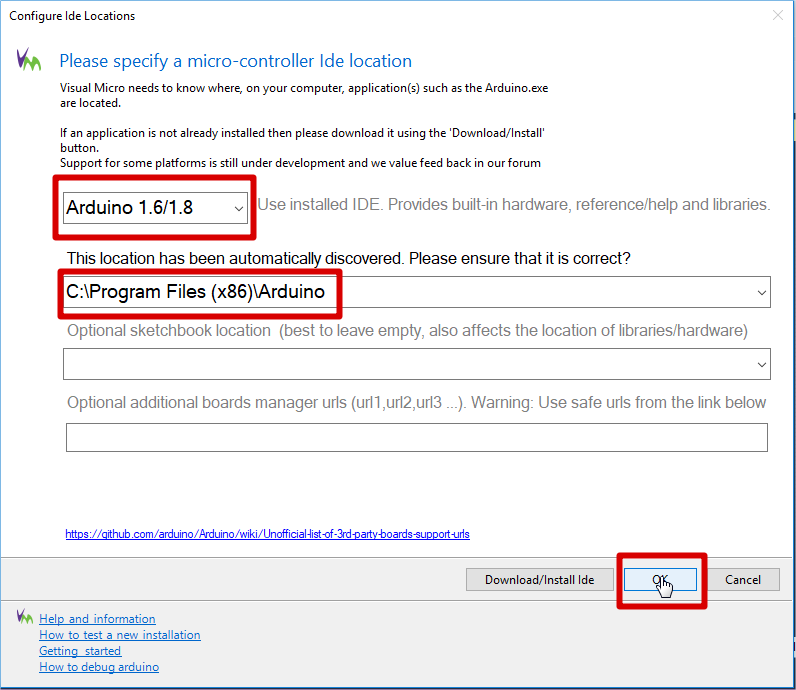
Once restarted you will be asked to specify Arduino IDE version and its location (usually the location is the one shown by default C:Program Files (x86)Arduino)
You will notice the presence of the new vMicro menu and toolbar in Atmel Studio…
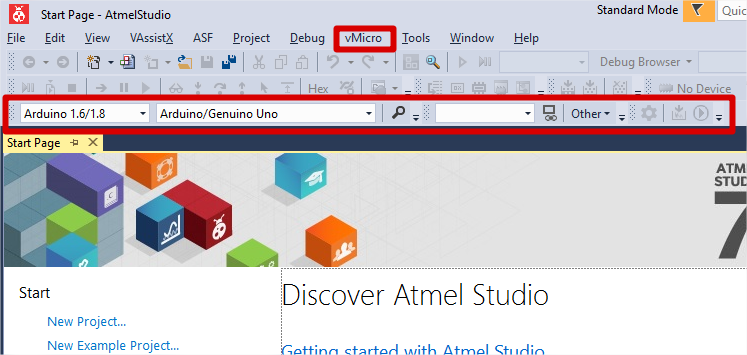
You are now ready to start coding your Arduino with a much more versatile environment!
First steps with the Visual Micro IDE
To start using your new environment, you can open an existing Arduino sketch (.ino file) or start a new blank project.
Open an existing Arduino sketch
Let’s start opening a very simple sketch: the APSP_blink_LEDs code available from the Proto Shield Plus sample sketches (Click here to download the sample sketches).
Of course you can use the “standard” Blink example provided with the Arduino IDE installation.
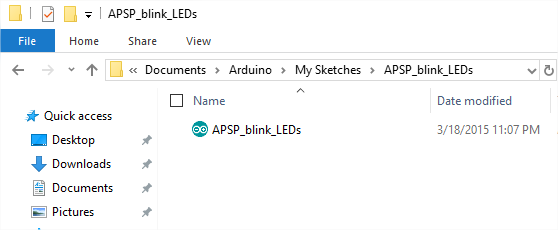
You will notice that the folder APSP_blink_LEDs folder contains just the APSP_blink_LEDs.ino file.
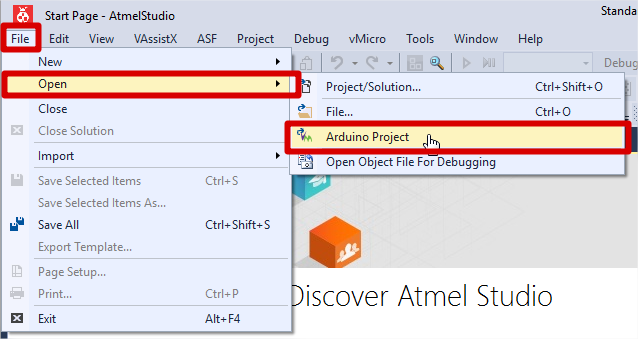
Now, in Atmel Studio, click on File->Open->Arduino Project
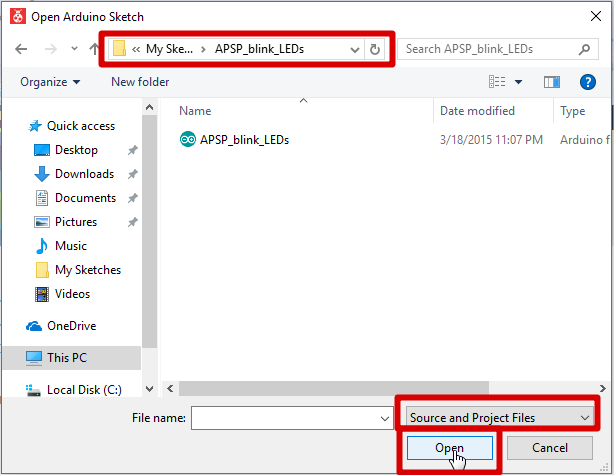
Navigate to the APSP_blink_LEDs folder and select the APSP_blink_LEDs.ino file
Wait a few seconds and the file will open in Atmel Studio…
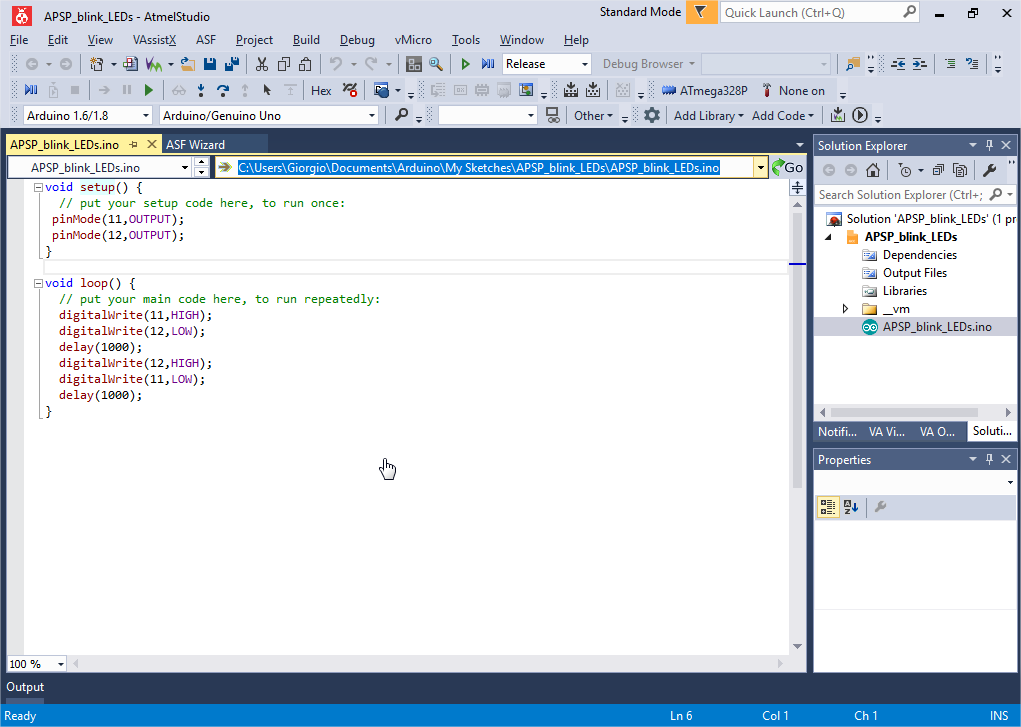
Taking a look at the APSP_blink_LEDs folder you will notice some new files and folder are now present: they will be used from Atmel Studio to setup the environment.
Anyway your APSP_blink_LEDs.ino file is still the same and can be used with the “standard” Arduino IDE.
Start a new blank project
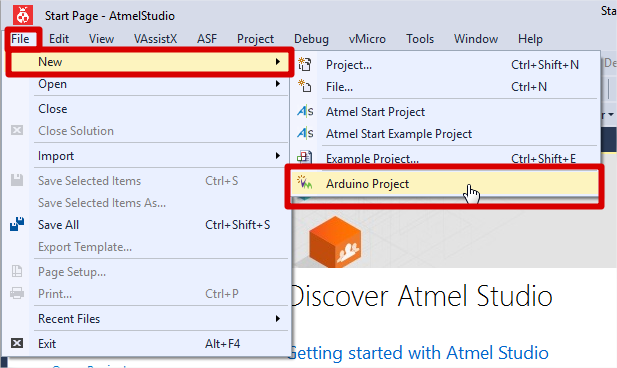
Click on File->New->Arduino Project
Enter a valid name for your new Arduino Project and click OK
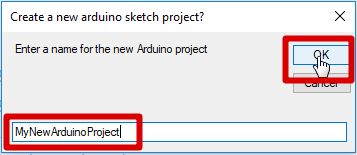
The new project is created and saved in DocumentsArduino
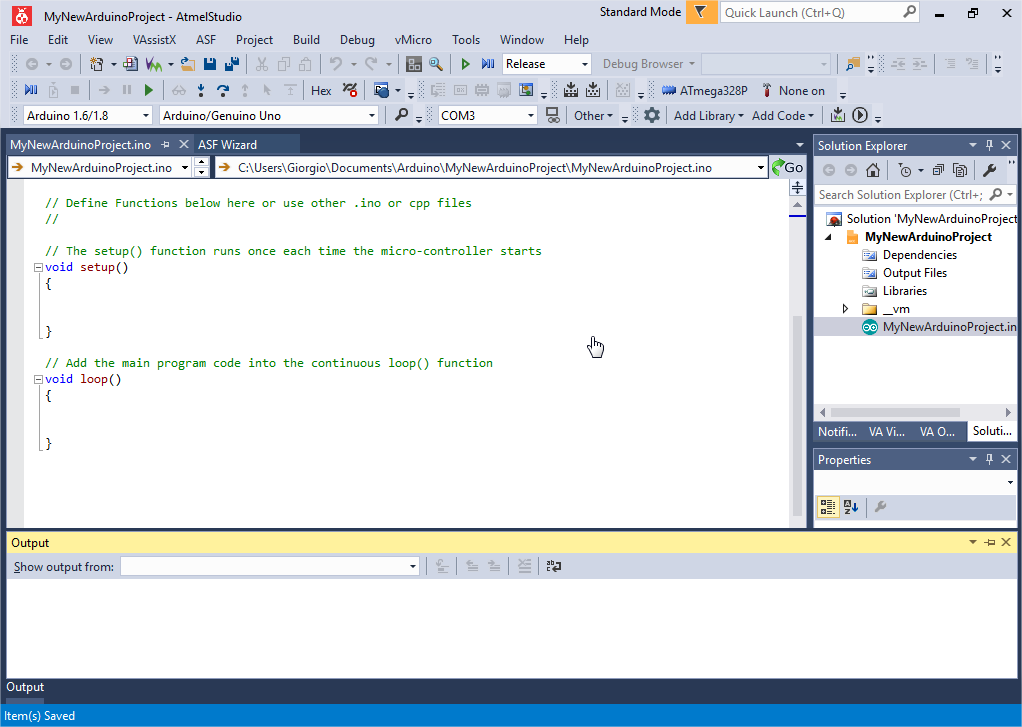
You can now add you own code…
Compile and run your code
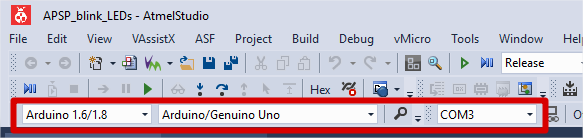
Select your Arduino environment, your board and the COM port assigned to your board
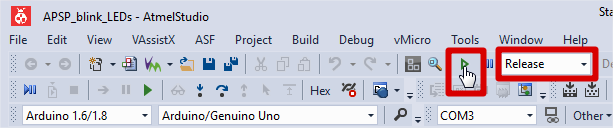
Select Release from the drop down menu and click the Start Without Debugging button
On your first compile, a window asking you to buy Visual Micro will probably pop-up, by clicking the Cancel button you will skip the process and keep evaluating the Visual Micro software.
After the trial period the software will keep running, buying the software and support developers it’s up to you…
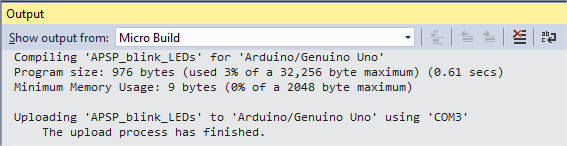
The Output window will show the compile results and then it will upload the code to your board!
In the next articles we will look at some cool and debug features of Visual Micro IDE…

VISUAL MICRO for ATMEL STUDIO FEATURES
Read more
Published : 09/18/2018 15:28:30
VISUAL MICRO for ATMEL STUDIO - DEBUGGING YOUR ARDUINO CODE
Read more
Published : 10/16/2018 21:33:19