No products
BLOG NEWS
 USING A 16x2 LCD DISPLAY WITH THE IoT PROTO SHIELD PLUS
  What does Paolo Aliverti say about the IoT Proto Shield Plus?
  USING AN SSD1306 128x32 OLED DISPLAY (I2C type) WITH THE IoT PROTO SHIELD PLUS
  USING AN SSD1306 128x64 OLED DISPLAY (I2C type) WITH THE IoT PROTO SHIELD PLUS
  I2C Bus on the IoT Proto Shield Plus
 Search on blog
Follow us on facebook
Top sellers
-

Proto Shield Plus STARTER KIT
This kit is the ideal solution for those who want to start to prototype...
69,90 € -

Proto Shield Plus LCD KIT
Prototype with ARDUINO / GENUINO boards without having a lot of wires...
56,00 € -

SMD to breadboard adapter (10 pcs pack)
Easily adapt SMD devices to 2.54mm prototyping breadboards.
3,90 € -

Proto Shield Plus BASE KIT
Prototype with ARDUINO / GENUINO boards without having a lot of wires...
52,00 €
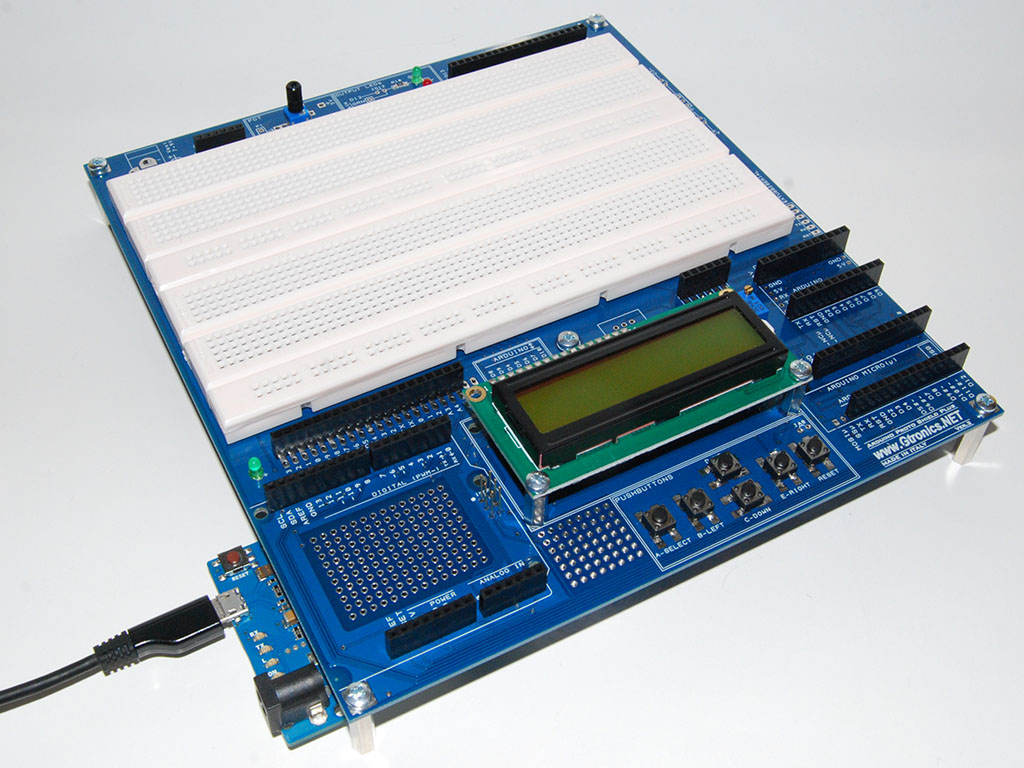
Using the Proto Shield Plus with Arduino UNO, LEONARDO, YÚN, NANO and MICRO
Published : 03/16/2018 09:15:13
Categories : Proto Shield Plus
Using the Proto Shield Plus with Arduino UNO, LEONARDO or YÚN
Using the Proto Shield Plus is just like any other shield: plug your Arduino board into the UNO / LEONARDO SOCKET.
Connect the UNO, LEONARDO or YÚN by means of a USB cable to your PC and start using it.
If you are using YÚN, you can connect over wifi.
The UNO socket
Prototyping with the Arduino UNO board
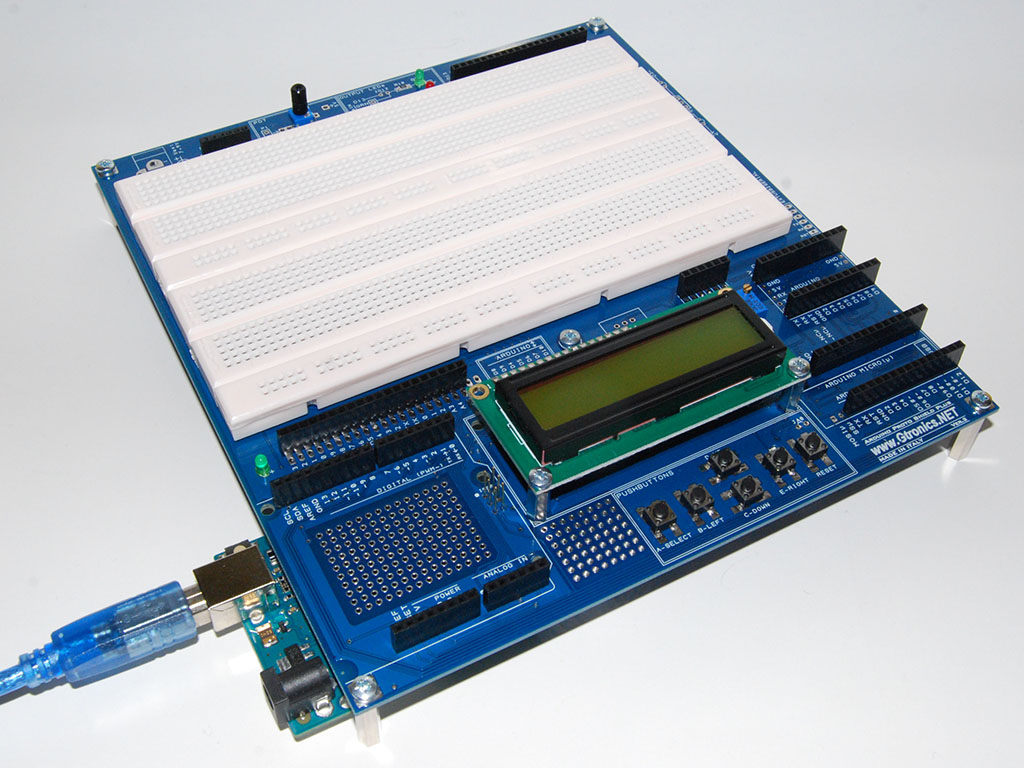
Prototyping with the Arduino LEONARDO board
Prototyping with the Arduino YÚN board
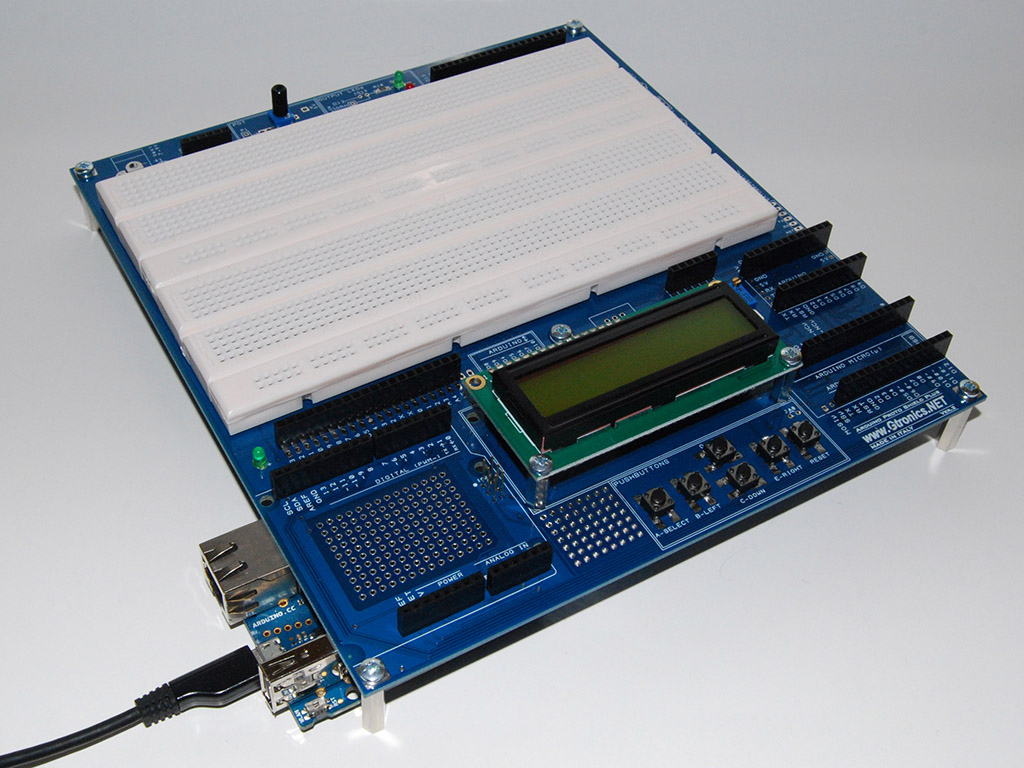
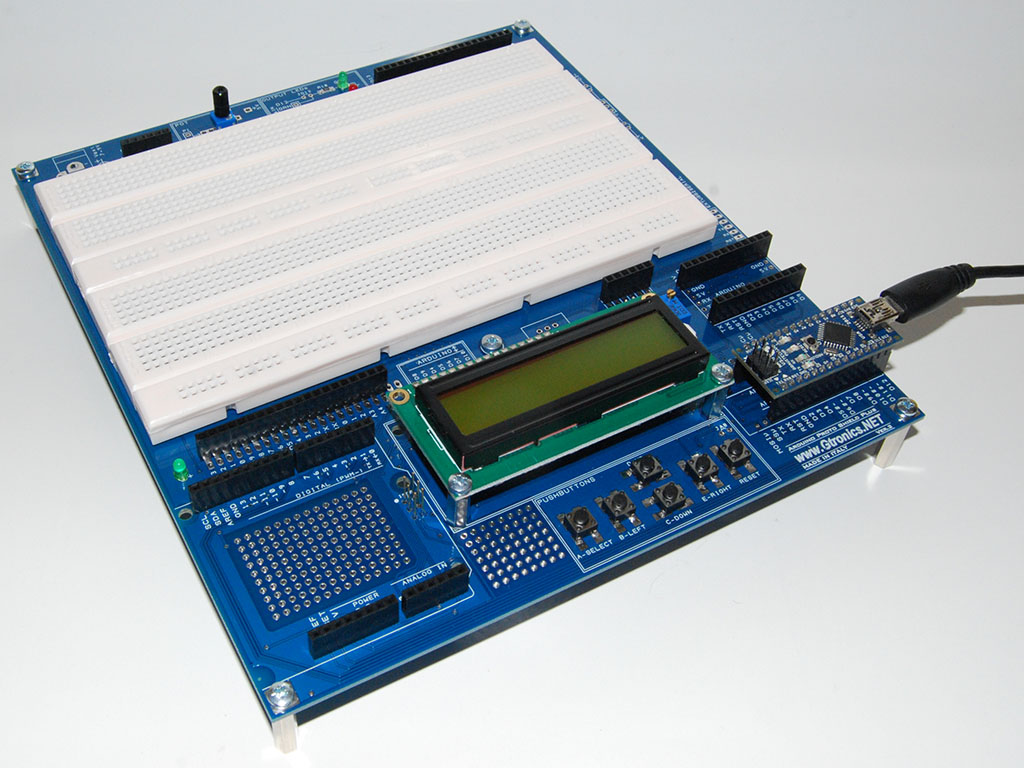
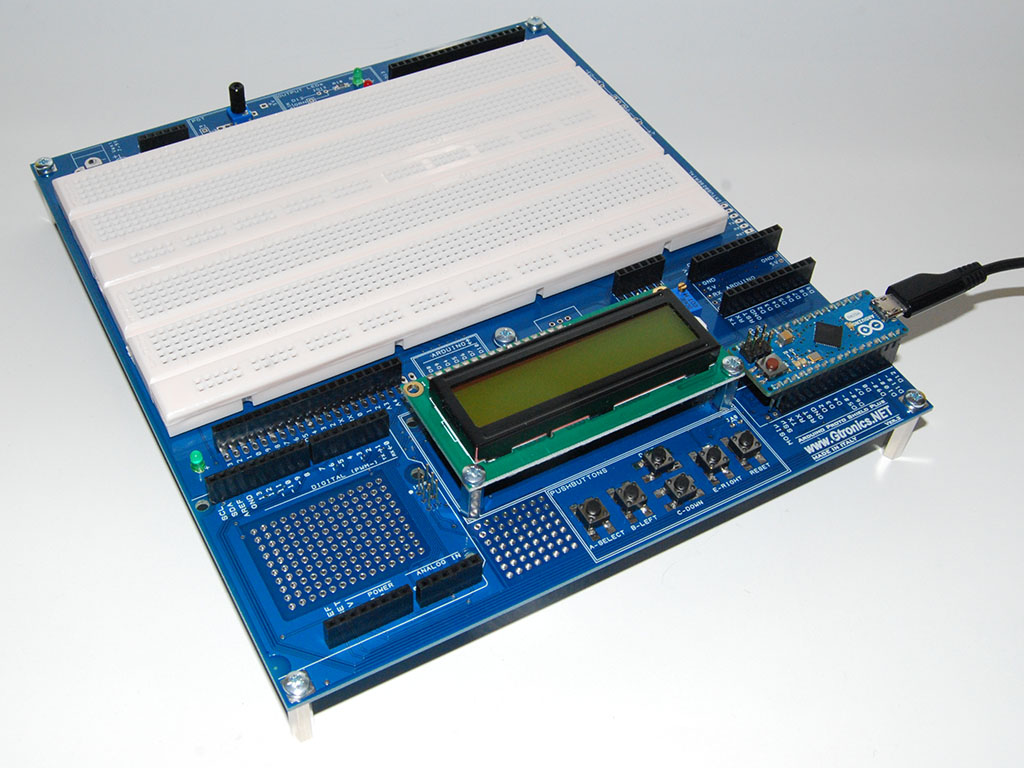
Using the Proto Shield Plus with Arduino NANO
Plug the NANO board in the MICRO / NANO SOCKET (pay attention to pin alignment and orientation).
Connect the NANO board by means of a USB cable to your PC and start using it.
Prototyping with the Arduino NANO board
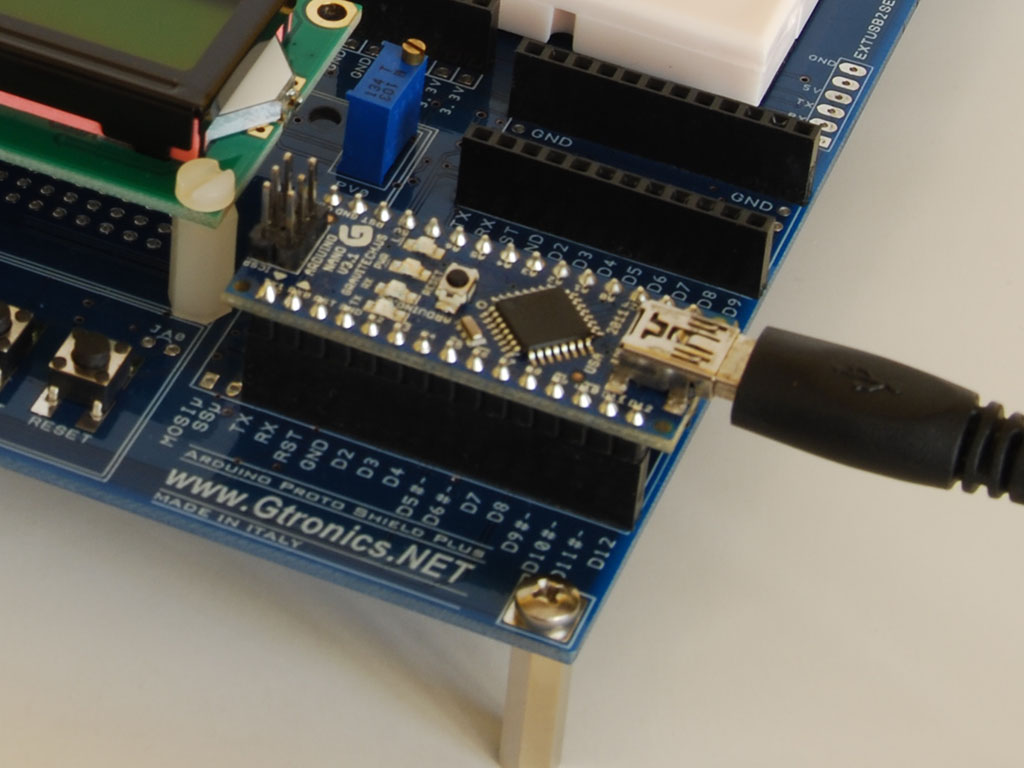
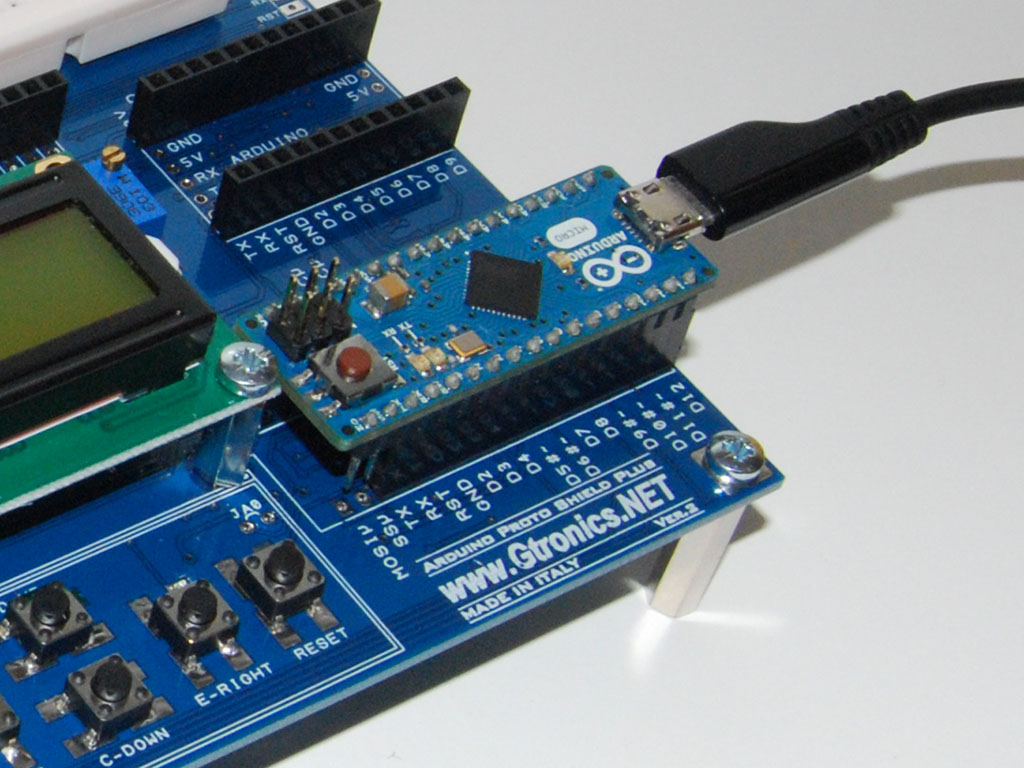
Using the Proto Shield Plus with Arduino MICRO
Plug the MICRO board in the MICRO / NANO SOCKET (pay attention to pin alignment and orientation).
MOSI, SS, SCK and MISO pins remain unconnected.
Connect the MICRO board by means of a USB cable to your PC and start using it.
Prototyping with the Arduino MICRO board
SCL and SDA pin-out
The SCL and SDA (the pins that perform the I2C communication) pin-out differ depending on the Arduino board.
Thus, you have to select the proper configuration depending on the board you are using.
We will discuss how to configure the Proto Shield Plus board SCL and SDA to route the signals with different Arduino boards in a next article.
Prototyping with the Arduino ZERO board
Arduino ZERO board works with 3,3V signals instead of 5V.
We will discuss how to configure the Proto Shield Plus board to work with 3,3V signals in a next article.


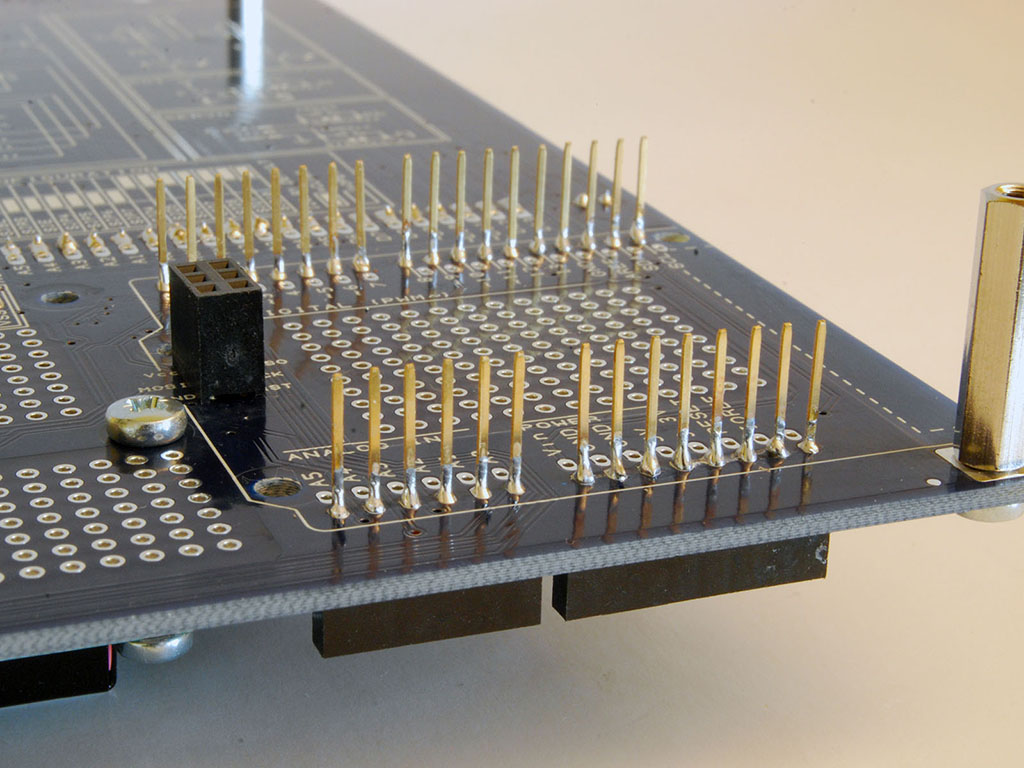
The Proto Shield Plus Board Layout
Read more
Published : 03/09/2018 10:45:38